Case study
Making an IKEA RÅSKOG work as a clothes rack
I adapted a RÅSKOG clothes-rack modification originally shared by home_design_notes. When I could not source the suggested parts in the UK, I designed customised lower and upper adapters to make locally available aluminium tubes fit the existing RÅSKOG connections.
Role
Problem framing, measurement, adapter design, prototyping & testing
Tools
Digital caliper, ChatGPT, Bambu Studio, Bambu Lab A1 3D printer
Year
2026
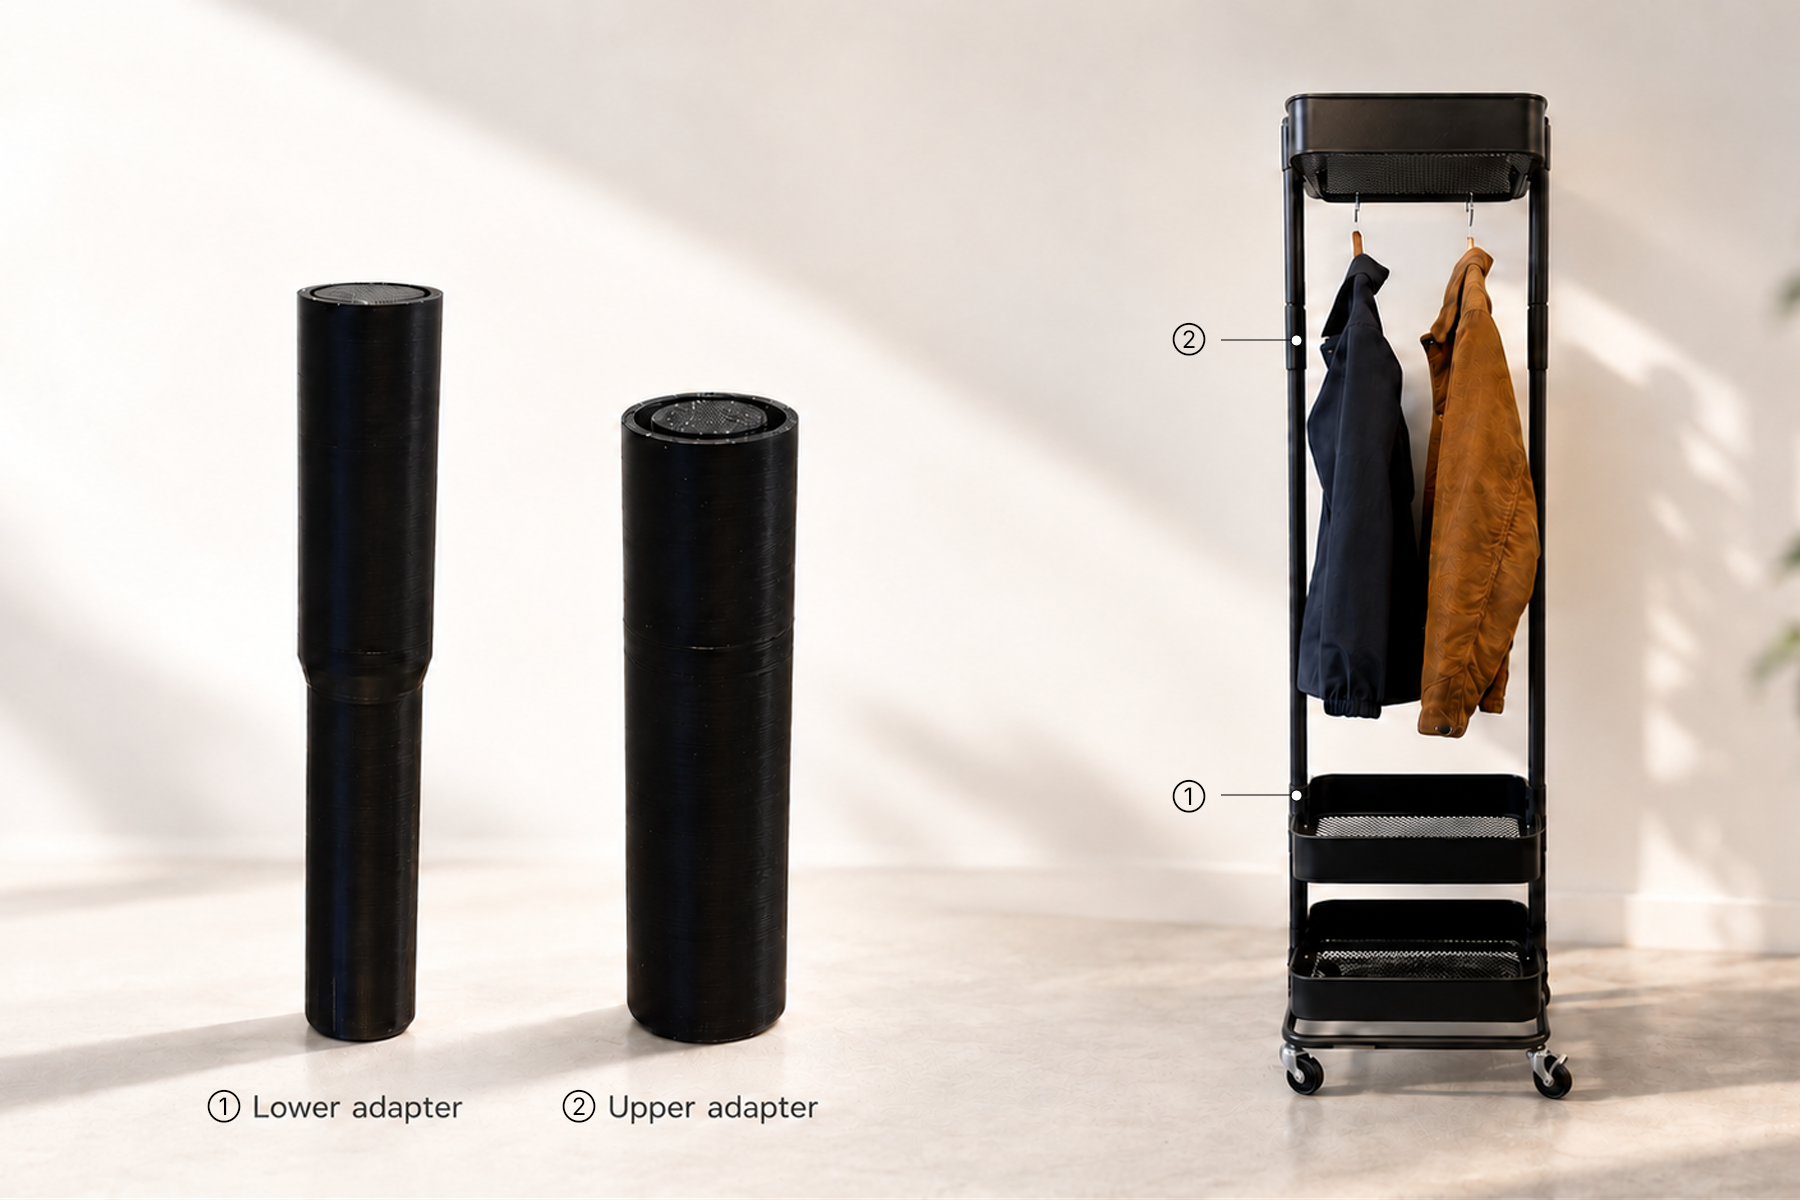
Overview
The original method relied on specific sizes of wooden rods and metal tubes that I could not find in the UK.
I came across a RÅSKOG modification shared by home_design_notes on Instagram and thought it was an interesting way to give my trolley another use. The original method used four 22 mm hollow metal tubes, with 20 mm wooden rods acting as internal connectors.
I could not find the required wooden rods and metal tubes in the UK. The closest suitable option I found was 19 mm aluminium tubing, but it could not connect directly to the existing RÅSKOG parts.
How could I connect parts with different diameters securely?
The challenge
My approach was to design two types of adapters to join the upper and lower RÅSKOG connections to the aluminium tubes.
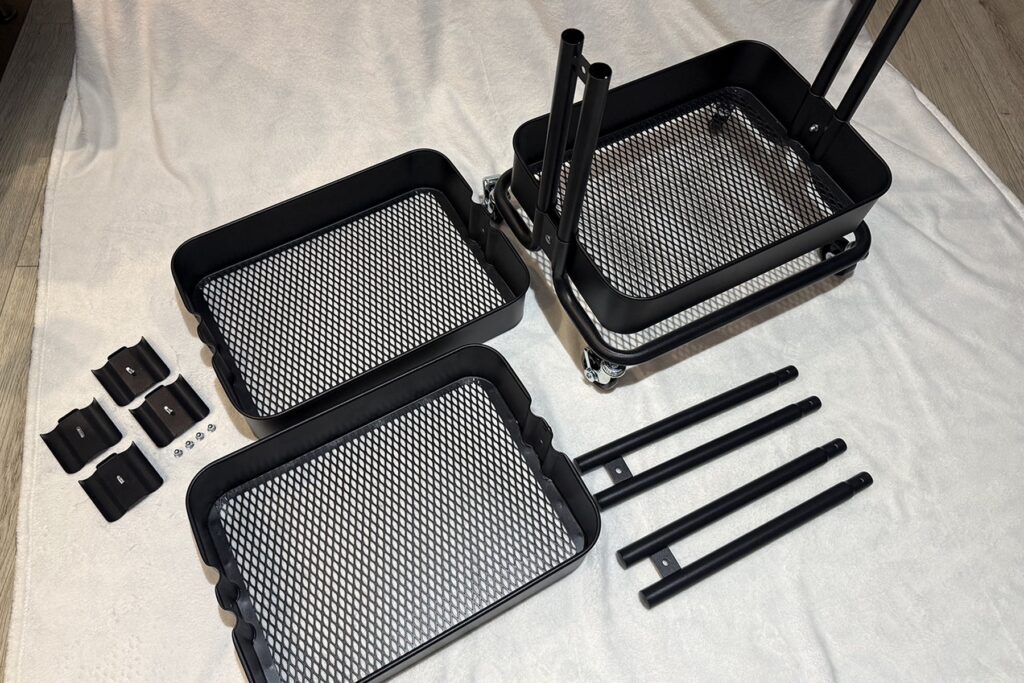
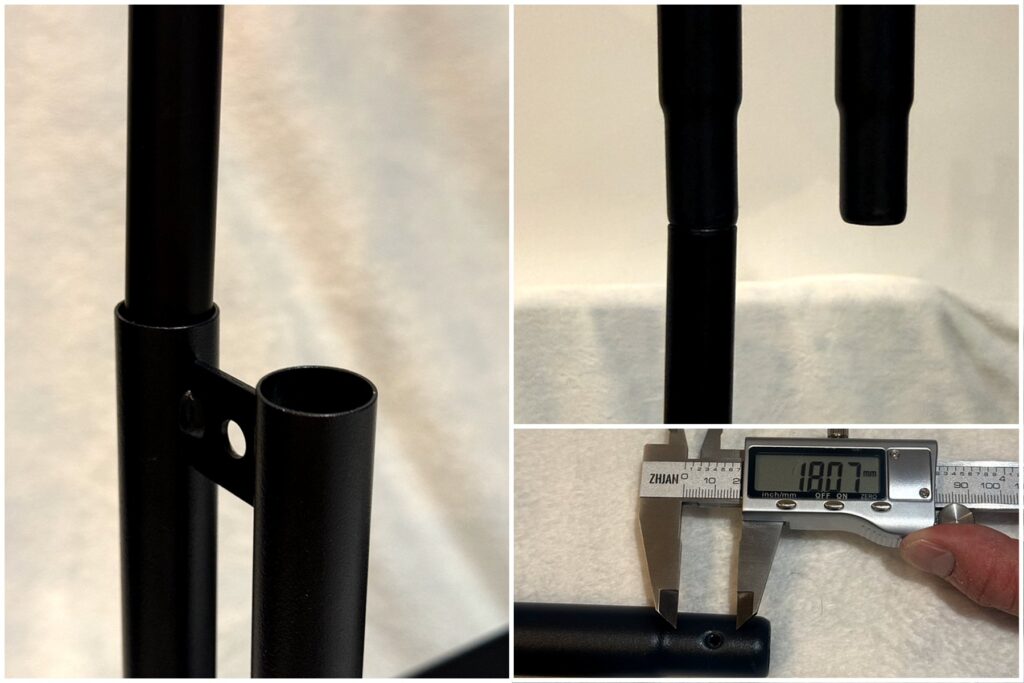
I started by taking apart the RÅSKOG. Then I measured the existing connection points and the aluminium tube with a digital caliper.
What I did
1. Starting with the lower connection
I initially aimed to use a sandwich-style fit to make the connection more secure and stable.
I measured the lower connection, including the internal crosspiece that limited the available space, and used these measurements to define the requirements for the adapter.
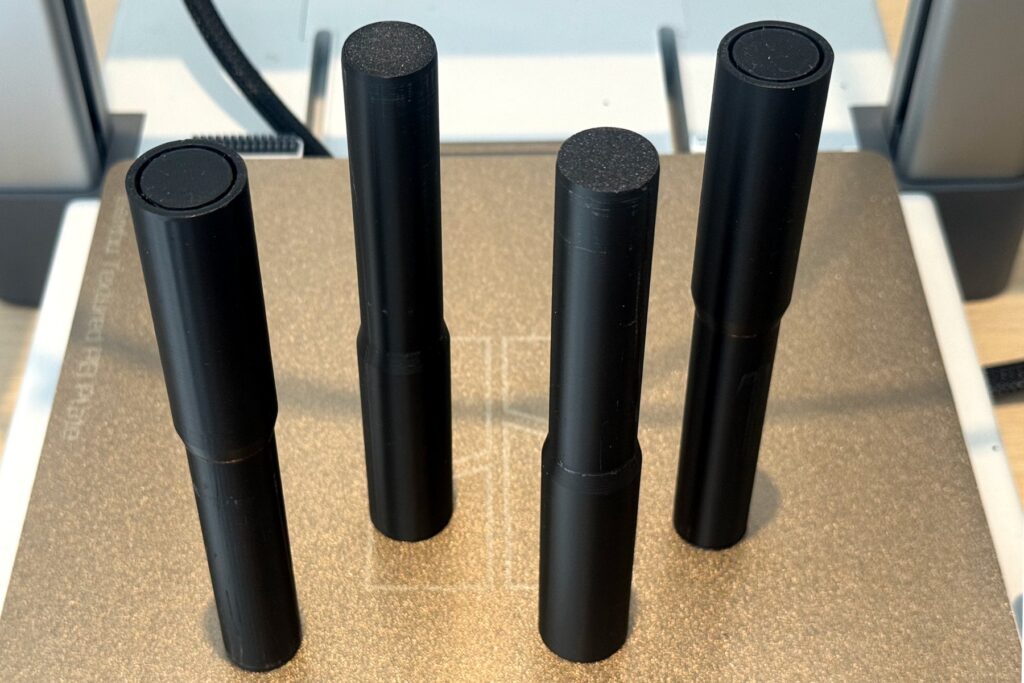
I translated these requirements into instructions for ChatGPT to generate the 3D-printable model, then prepared it in Bambu Studio and printed it on my Bambu Lab A1.
The resulting adapter fitted the lower connection as intended.
2. Moving to the upper connection
With the lower adapter working as intended, I used the same approach for the upper connection.
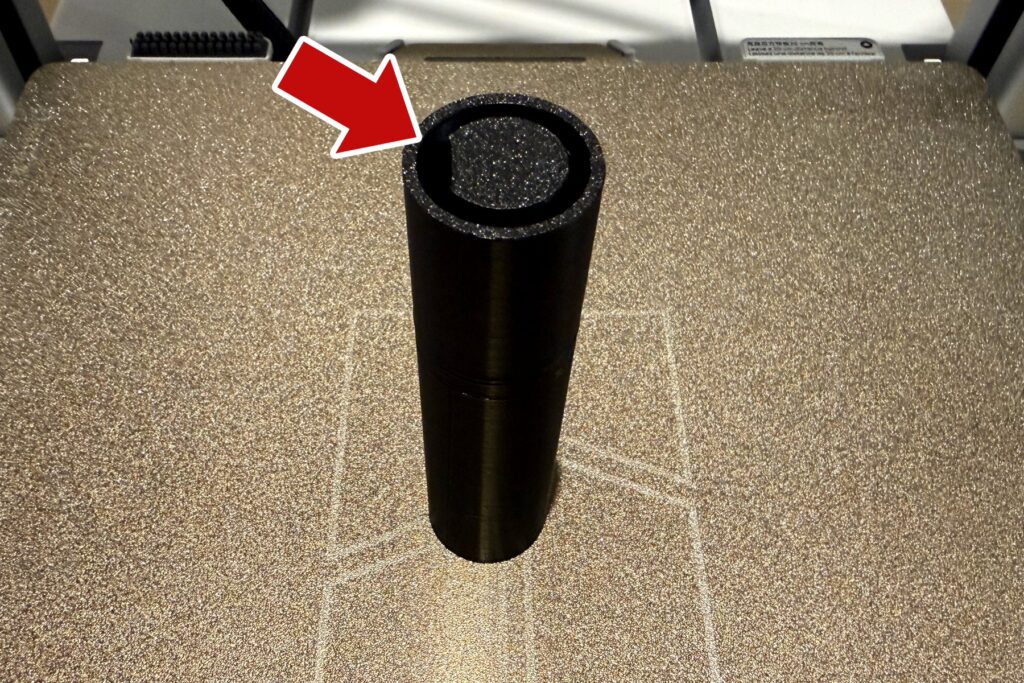
I measured the existing RÅSKOG part and one of the aluminium tubes, then printed a small test cap to check the fit before producing the full upper adapter.
The test cap fitted as expected, so I used the same dimensions for the first upper adapter. That adapter also fitted the tube I had measured.
As all four tubes were sold as the same 19 mm product, I expected the same adapter dimensions to work across all four.
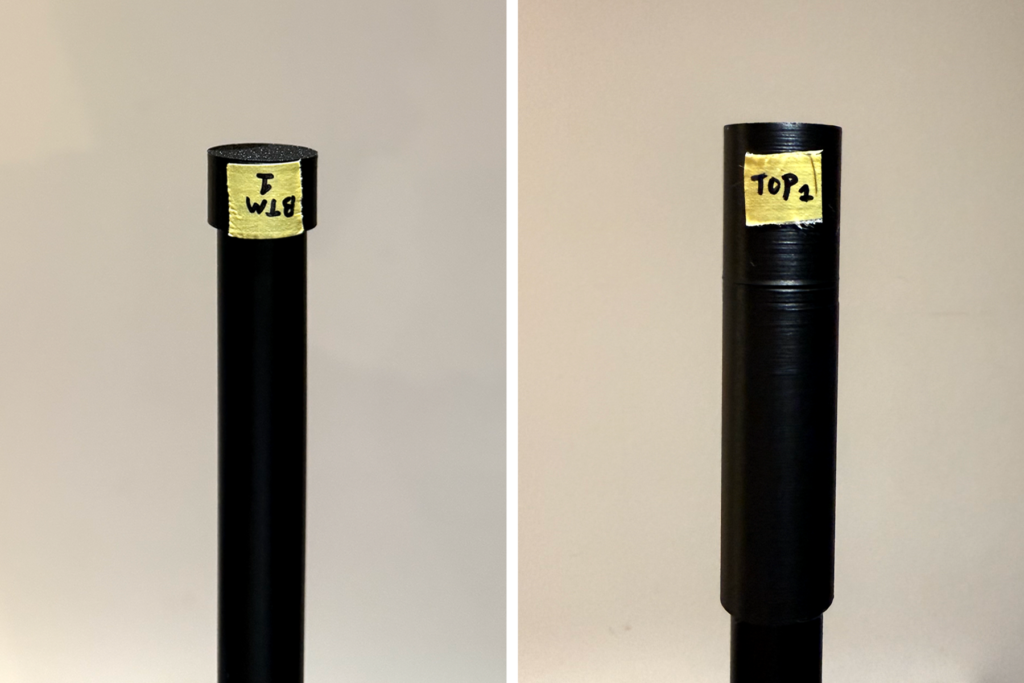
3. The “19 mm” tubes did not fit consistently
When I tested the adapter with the other tubes, the fit was inconsistent.
Some tubes were tighter than others. From the physical parts, I could see that the difference appeared to come mainly from variation in the surface coating rather than a completely different tube size.
Instead of measuring every tube in detail at this stage, I chose a quicker way to test the fit directly.
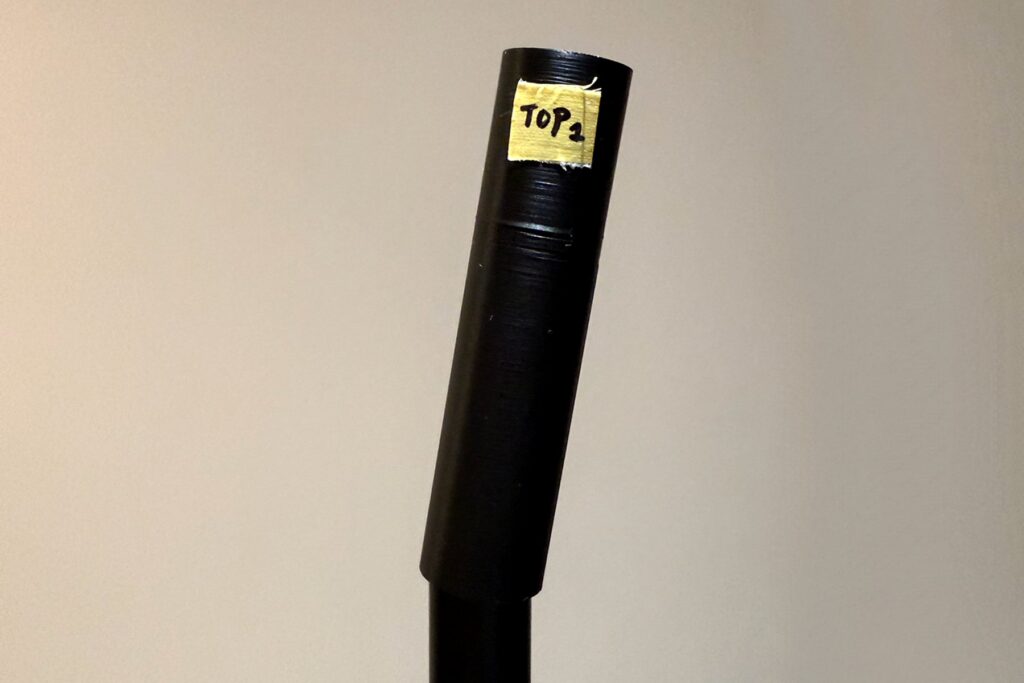
4. Testing three sizes directly
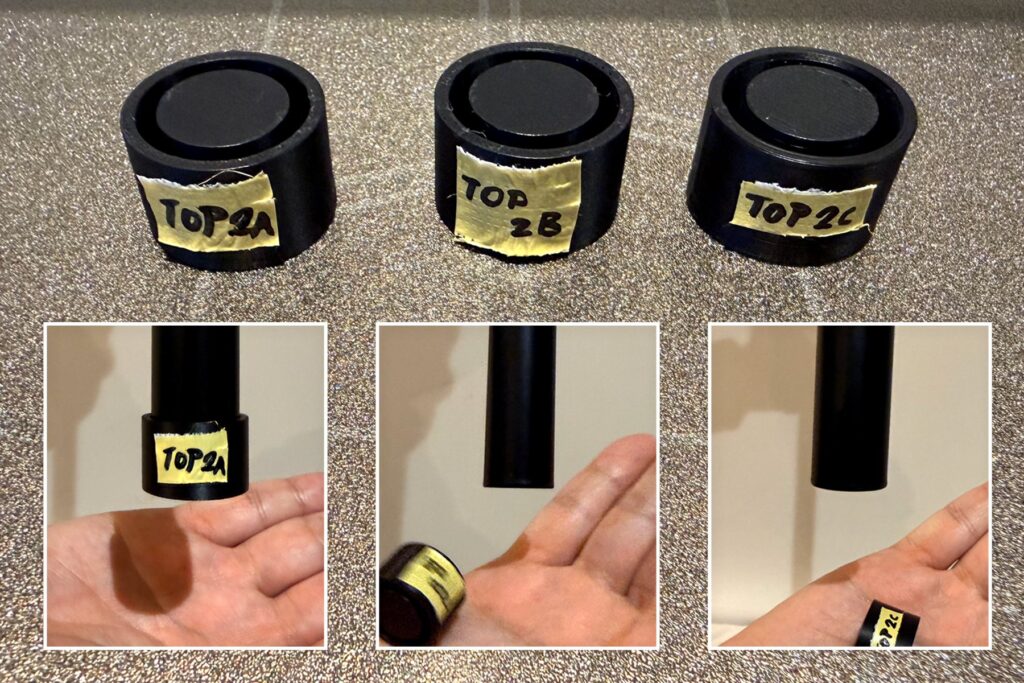
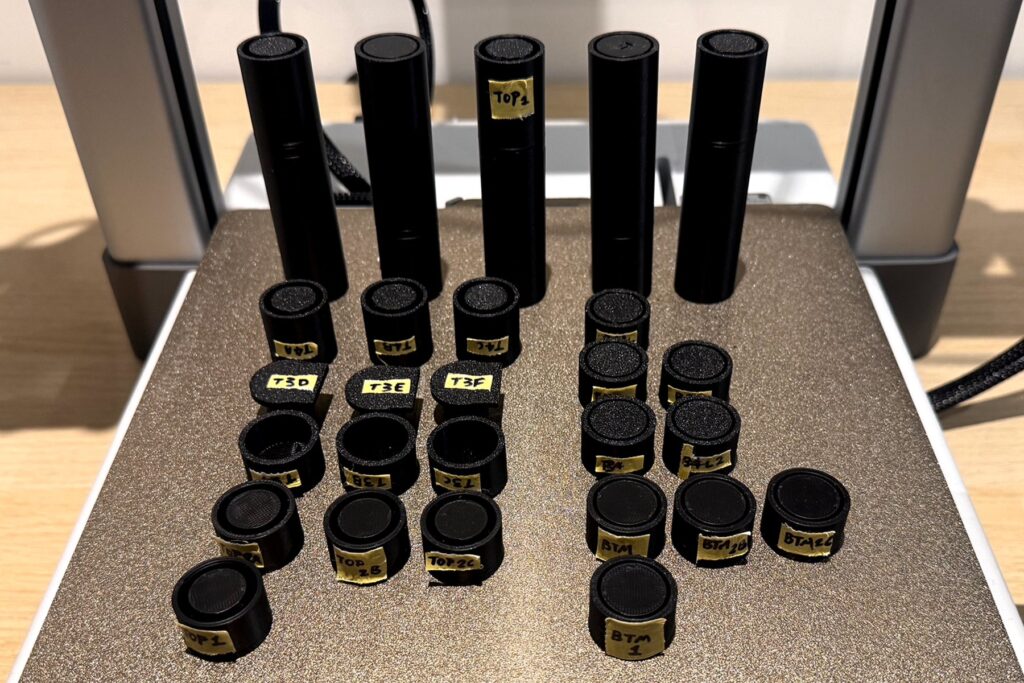
Rather than repeatedly changing the full adapter, I printed three small test caps in slightly different sizes and compared how each one fitted the tubes.
This let me quickly identify which size was too loose, too tight or secure enough, without needing to rebuild the whole adapter each time.
I then used the best-performing size for the revised upper adapter.
5. The RÅSKOG parts also varied
After finding a reliable fit for the aluminium tubes, I assumed the original RÅSKOG connection points would be consistent too.
I measured one RÅSKOG connection point and printed a small test cap to check the fit. As it worked, and I already had reliable dimensions for the aluminium tube side, I produced four upper adapters.
When I tested them across the trolley, the fit was inconsistent. One adapter felt loose, while another would not fit at all.
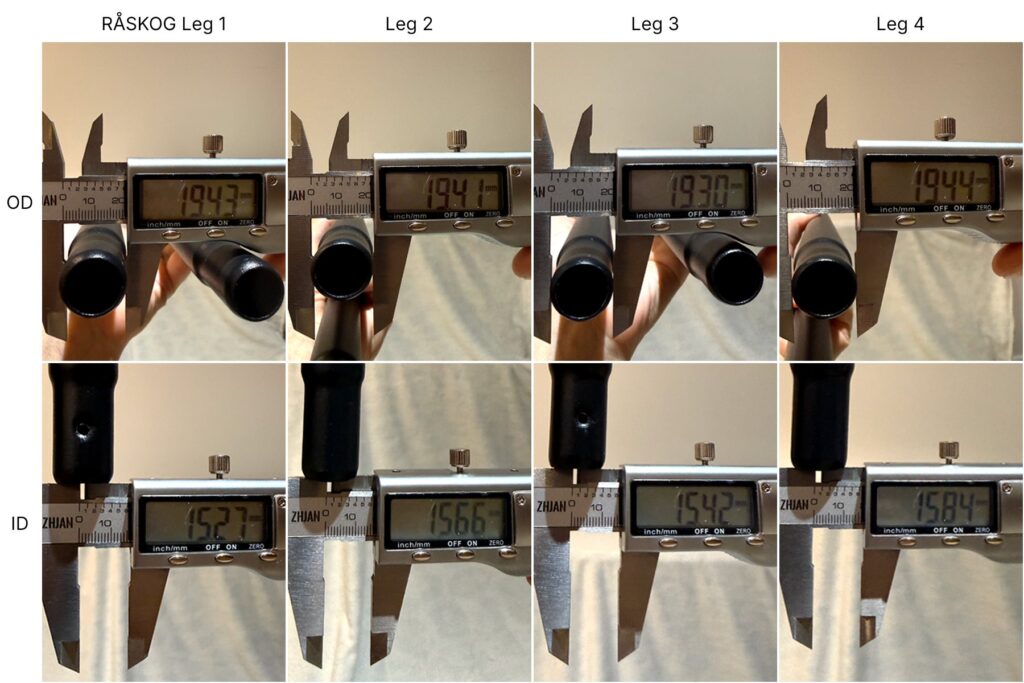
This challenged my assumption that the original RÅSKOG parts were identical. I then measured the inside and outside diameter of each RÅSKOG leg twice to check the variation.
The measurements confirmed that the original parts also varied slightly, so I revised the adapter again to accommodate the differences.
| Leg 1 | Leg 2 | Leg 3 | Leg 4 | |
| OD (mm) | 1st: 19.43 2nd: 19.44 | 1st: 19.36 2nd: 19.41 | 1st: 19.30 2nd: 19.65 | 1st: 19.44 2nd: 19.53 |
| ID (mm) | 1st: 15.27 2nd: 15.39 | 1st: 15.66 2nd: 15.65 | 1st: 15.42 2nd: 15.70 | 1st: 15.76 2nd: 15.84 |
6. One RÅSKOG connection still did not fit
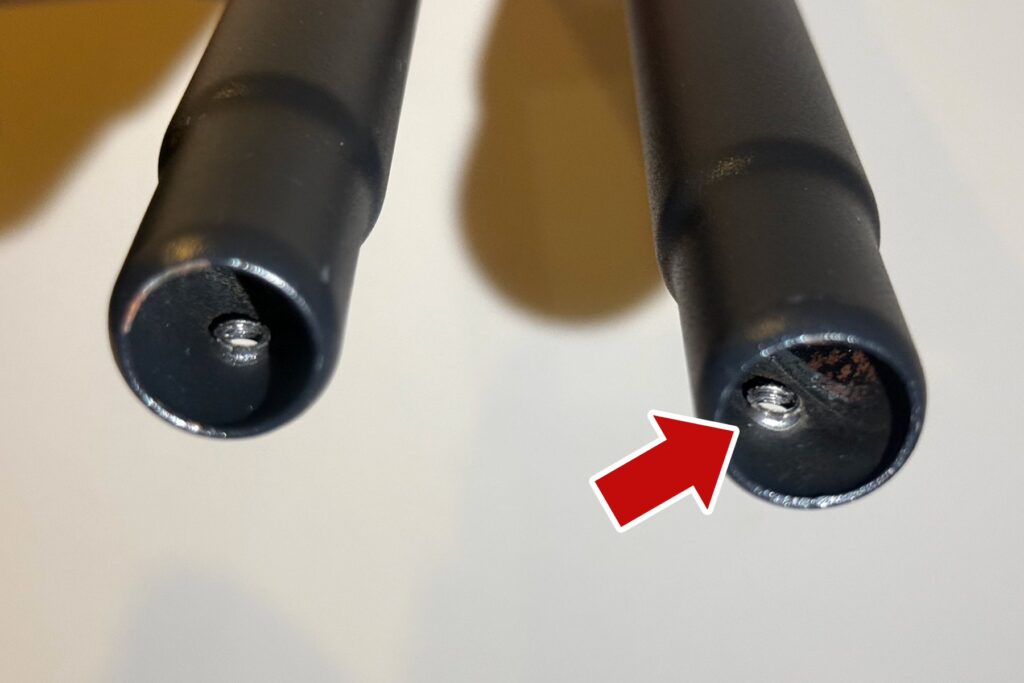
Even after adjusting the adapter for the variation between the RÅSKOG legs, one connection still would not fit.
I inspected that position more closely and found a small burr around the opening that reduced the available clearance.
This showed that the remaining problem was local to that connection, so I needed a targeted adjustment rather than another change to the whole adapter.
7. Making a targeted adjustment
Instead of making the whole adapter smaller, I changed only the area that was causing the interference.
I added a wider clearance slot to the adapter so it could pass the burr at that specific connection while keeping the rest of the fit unchanged.
Rather than measuring the exact distance between the tube edge and the burr, I used the physical interference itself to guide the adjustment. This reduced the number of measurements I relied on and avoided introducing unnecessary error.
I printed the revised version and tested it again. The updated adapter fitted the previously blocked connection while preserving the overall fit elsewhere.
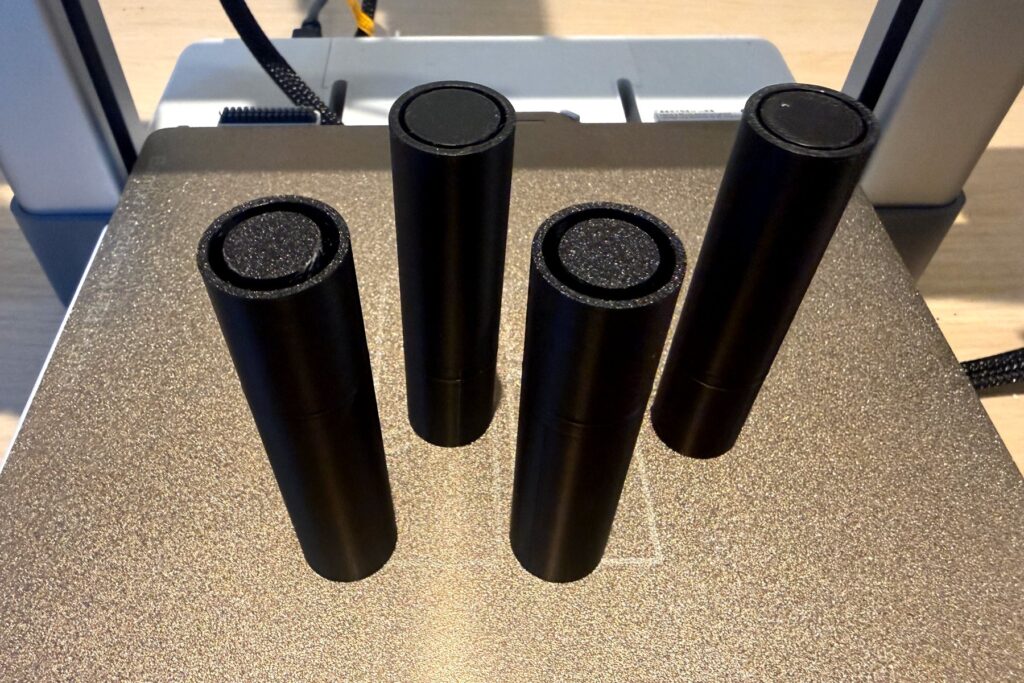
8. Finalising the adapter designs
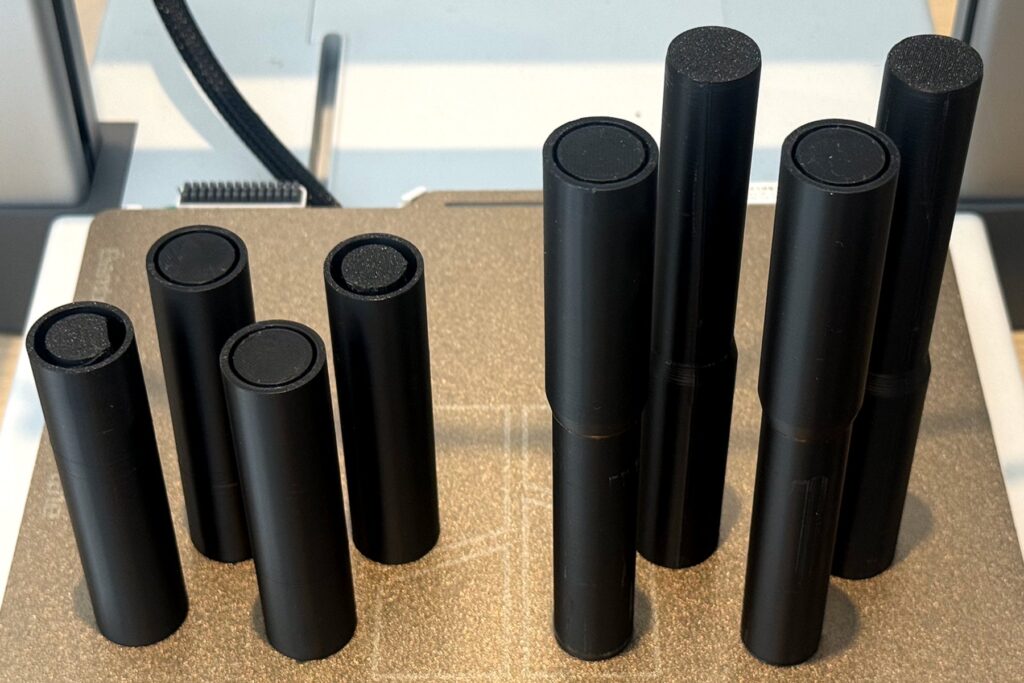
9. Final assembly and real-world use
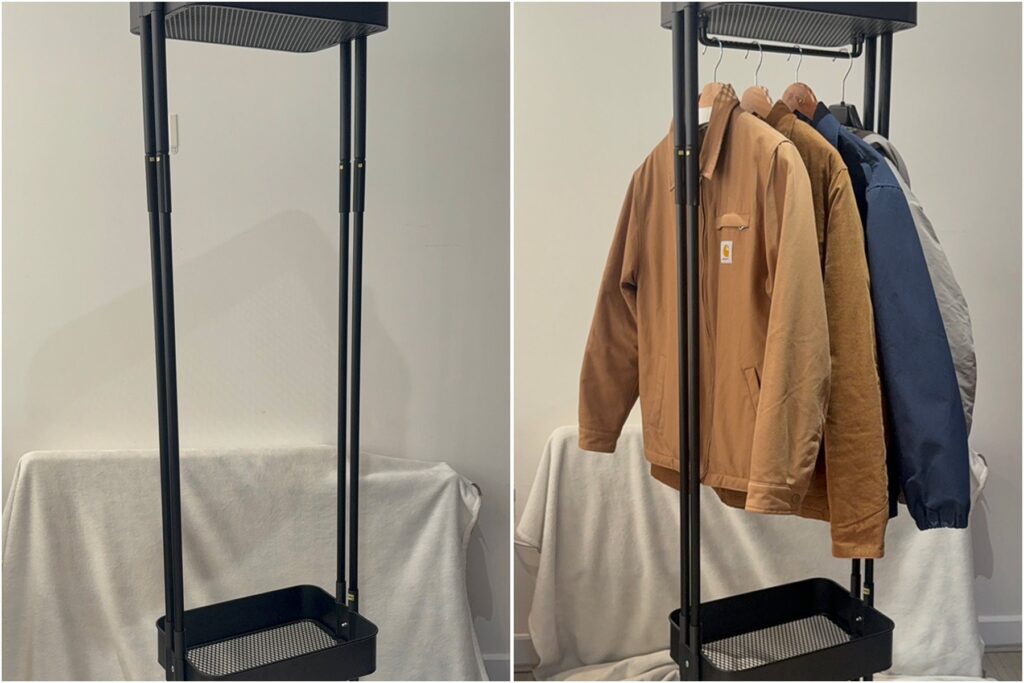
Once the adapters fitted reliably, I assembled the full trolley and tested it as a working clothes rack.
I installed the four aluminium extensions, rebuilt the RÅSKOG and added the top rail for hanging clothes. I then tested the completed trolley with clothing and used it in its intended space. The adapters held the structure securely and the modification worked as a complete system, not just as individual fitted parts.
Outcome
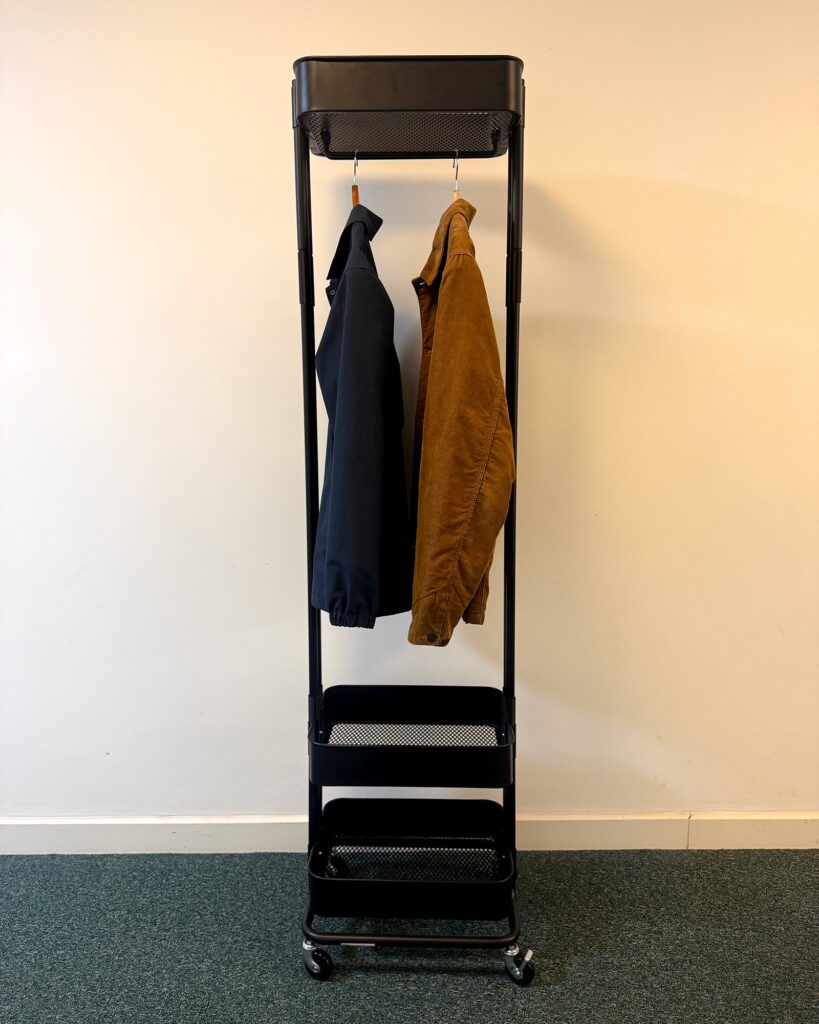
The adapters made it possible to recreate the clothes-rack modification using parts I could source locally.
The final setup kept the original trolley while adding the hanging height I needed. The 3D-printed adapters allowed the locally available aluminium tubes to work with the existing RÅSKOG structure, and the completed rack has remained stable in everyday use.
Reflection
This project reminded me that one successful test is not enough to prove that a solution will work in every case.
It also showed me that nominal dimensions and product specifications should not be treated as perfectly exact. Even parts that appear standardised can vary slightly in the real world, and those small differences can matter when the fit needs to be precise.
The four lower adapters fitted as expected, and the first upper connection appeared to confirm that the same approach would work again. Testing the remaining parts showed otherwise: both the replacement aluminium tubes and even the original RÅSKOG connections varied enough to affect the fit.
Each time new evidence challenged my expectations, I went back to the physical parts, isolated the cause, made a targeted change and tested again.
This helped me avoid changing more than necessary and gave me more confidence in each decision.
Although this was a small personal project, the same principle applies to digital services: a solution that works for one case or one user should not automatically be assumed to work for everyone.
NEXT CASE STUDY